
Importing Data Using Immerse
You can import data to OmniSci Core Database using the Immerse import wizard. You can upload data from a local delimited file, or a delimited file from an S3 data source.
For methods specific to geospatial data, see also Importing Geospatial Data Using Immerse.
| Note | If there is a potential for duplicate entries and you prefer to avoid loading duplicate rows, see How can I avoid creating duplicate rows? on the Troubleshooting page. |
Importing Data from a Local File
Follow these steps to import your data:
- Click DATA MANAGER.
- Click Import Data.
- Click Import data from a local file.
- Either click the plus sign (+) or drag your file(s) for upload. If you are uploading multiple files, the column names and data types must match. OmniSci supports only delimiter-separated formats such as CSV and TSV. In addition to CSV, TSV, and TXT files, you can import compressed delimited files in TAR, ZIP, 7-ZIP, RAR, GZIP, BZIP2, or TGZ format.
- Choose Import Settings:
- Null string: If, instead using a blank for null cells in your upload document, you have substituted strings such as NULL, enter that string in the Null String field. The values are treated as null values on upload.
- Delimiter Type: Delimiters are detected automatically. You can choose a specific delimiter, such as a comma or pipe.
- Quoted String: Indicate whether your string fields are enclosed by quotes. Delimiter characters inside quotes are ignored.
- Replicate Table: If you are importing non-geospatial data to a distributed database with more than one node, select this checkbox to replicate the table to all nodes in the cluster. This effectively adds the PARTITIONS='REPLICATED' option to the create table statement. See Replicated Tables.
- Click Import Files.
- The Table Preview screen presents sample rows of imported data. The importer assigns a data type based on sampling, but you should examine and modify the selections as appropriate. Assign the correct data type to ensure optimal performance. If your column headers contain SQL reserved words, reserved characters (for example, year, /, or #), or spaces, the importer alters the characters to make them safe and notifies you of the changes. You can also change the column labels.
- Name the table, and click Save Table.
Importing Data from Amazon S3
To import data from your Amazon S3 instance, you need:
- The Region and Path for the file in your S3 bucket, or the direct URL to the file (S3 Link).
- If importing private data, your Access Key and Secret Key for your personal IAM account in S3.
Locating the Data File S3 Region, Path, and URL
For information on opening and reviewing items in your S3 instance, see https://docs.aws.amazon.com/AmazonS3/latest/gsg/OpeningAnObject.html
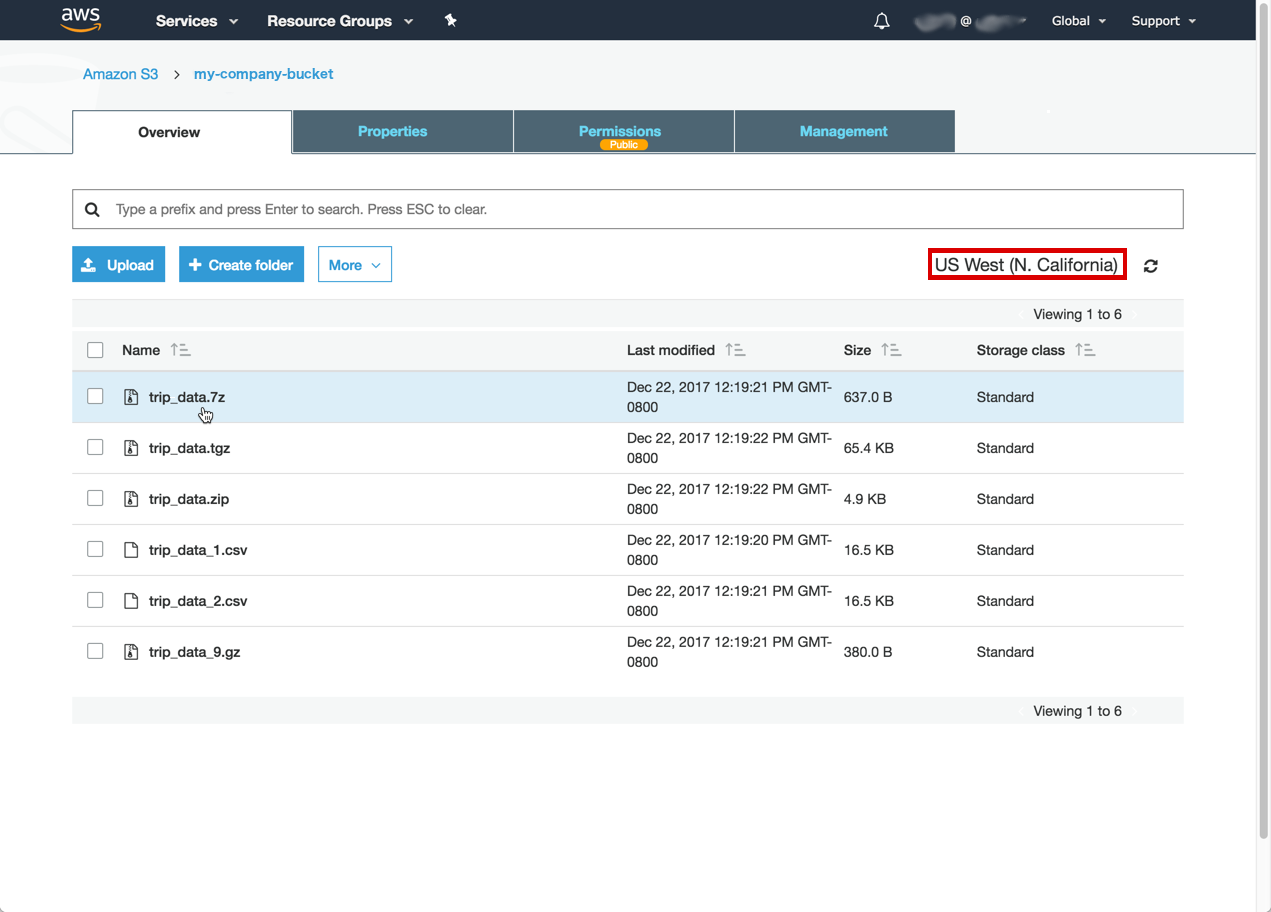
In an S3 bucket, the Region is in the upper-right corner of the screen – US West (N. California) in this case:
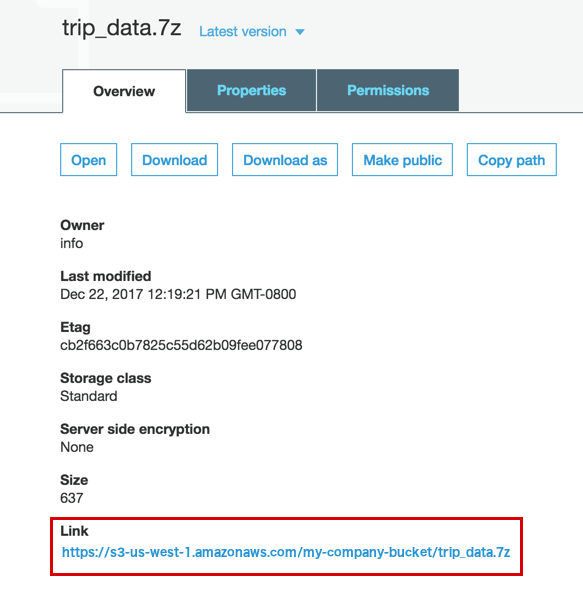
Click the file you want to import. To load your S3 file to OmniSci using the steps for S3 Region | Bucket | Path, below, click Copy path to copy to your clipboard the path to your file within your S3 bucket. Alternatively, you can copy the link to your file. The Link in this example is https://s3-us-west-1.amazonaws.com/my-company-bucket/trip_data.7z.
Obtaining Your S3 Access Key and Secret Key
To learn about creating your S3 Access Key and Secret Key, see https://docs.aws.amazon.com/IAM/latest/UserGuide/id_credentials_access-keys.html#Using_CreateAccessKey
If the data you want to copy is publicly available, you do not need to provide an Access Key and Secret Key.
You can import any file you can see using your IAM account with your Access Key and Secret Key.
Your Secret Key is created with your Access Key, and cannot be retrieved afterward. If you lose your Secret Key, you must create a new Access Key and Secret Key.
Loading Your S3 Data to OmniSci
Follow these steps to import your S3 data:
- Click DATA MANAGER.
- Click Import Data.
- Click Import data from Amazon S3.
- Choose whether to import using the S3 Region | Bucket | Path or a direct full link URL to the file (S3 Link).
- To import data using S3 Region | Bucket | Path:
- Select your Region from the pop-up menu.
- Enter the unique name of your S3 Bucket.
- Enter or paste the Path to the file stored in your S3 bucket.
- To import data using S3 link:
- Copy the Link URL from the file Overview in your S3 bucket.
- Paste the link in the Full Link URL field of the OmniSci Table Importer.
- To import data using S3 Region | Bucket | Path:
- If the data is publicly available, you can disable the Private Data checkbox. If you are importing Private Data, enter your credentials:
- Enable the Private Data checkbox.
- Enter your S3 Access Key.
- Enter your S3 Secret Key.
- Choose the appropriate Import Settings. OmniSci supports only delimiter-separated formats such as CSV and TSV.
- Null string: If you have substituted a string such as NULL for null values in your upload document, enter that string in the Null String field. The values are treated as null values on upload.
- Delimiter Type: Delimiters are detected automatically. You can choose a specific delimiter, such as a comma or pipe.
- Quoted String: Indicate whether your string fields are enclosed by quotes. Delimiter characters inside quotes are ignored.
- Click Import Files.
- The Table Preview screen presents sample rows of imported data. The importer assigns a data type based on sampling, but you should examine and modify the selections as appropriate. Assign the correct data type to ensure optimal performance. If your column headers contain SQL reserved words, reserved characters (for example, year, /, or #), or spaces, the importer alters the characters to make them safe and notifies you of the changes. You can also change the column labels.
- Name the table, and click Save Table.